Already have scan data for your building? BIMIT turns a point cloud you already own — from your own laser scanner, a reality-capture provider, or a previous IPX scan — into a verified, as-built Revit model. There's no field visit: you upload the scan, choose your scope and deliverables, and our team does the modeling.
BIMIT is ordered through the same wizard as a SCANIT scan — Scope → Team → Review → Pay — with one key difference: you upload your point cloud instead of scheduling a site scan.
Before you start
- You need to be an organization admin (or have order permission).
- Have your point cloud file ready — the registered scan data for the building.
- You can order for an existing location or add a new one in the wizard.
Placing the order
1
Open the order wizard
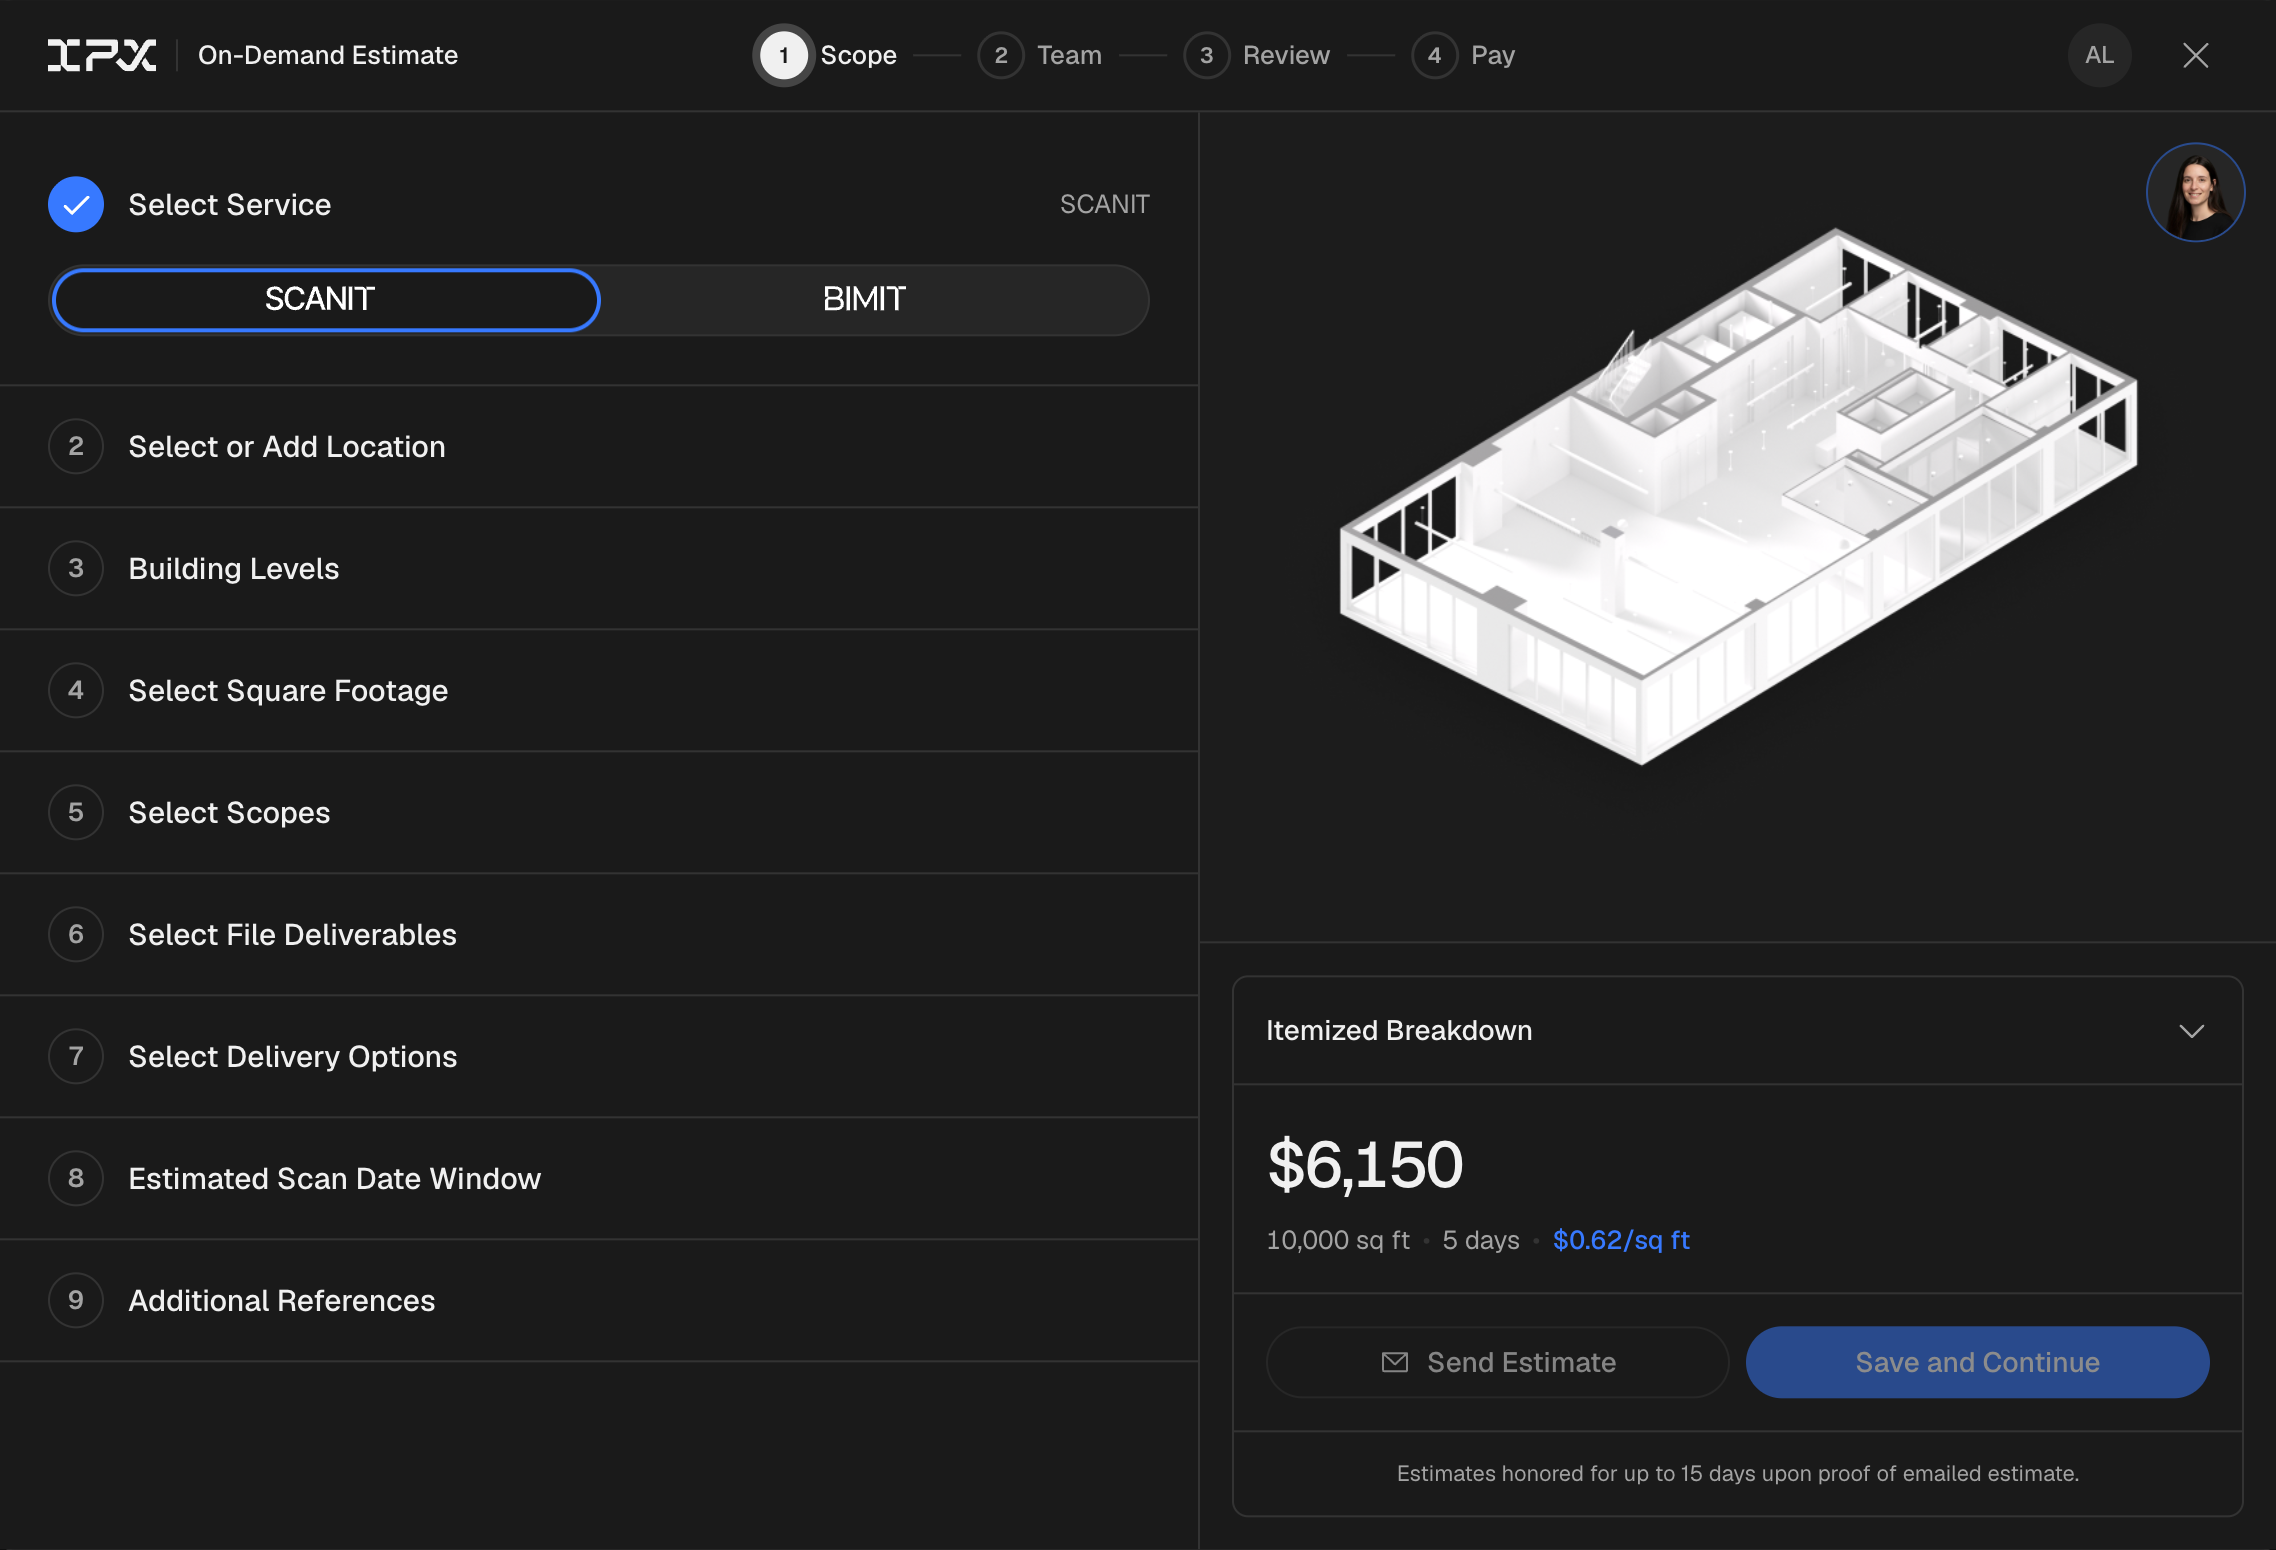
In the left sidebar, under Services, click Get verified as-builts to open the order wizard at Step 1 — Scope.
2
Switch the service type to BIMIT
At the top of the Scope step, change the service type to BIMIT. The wizard updates to the BIMIT flow — the on-site scanning options are removed and an Upload Point Cloud step appears in their place.
3
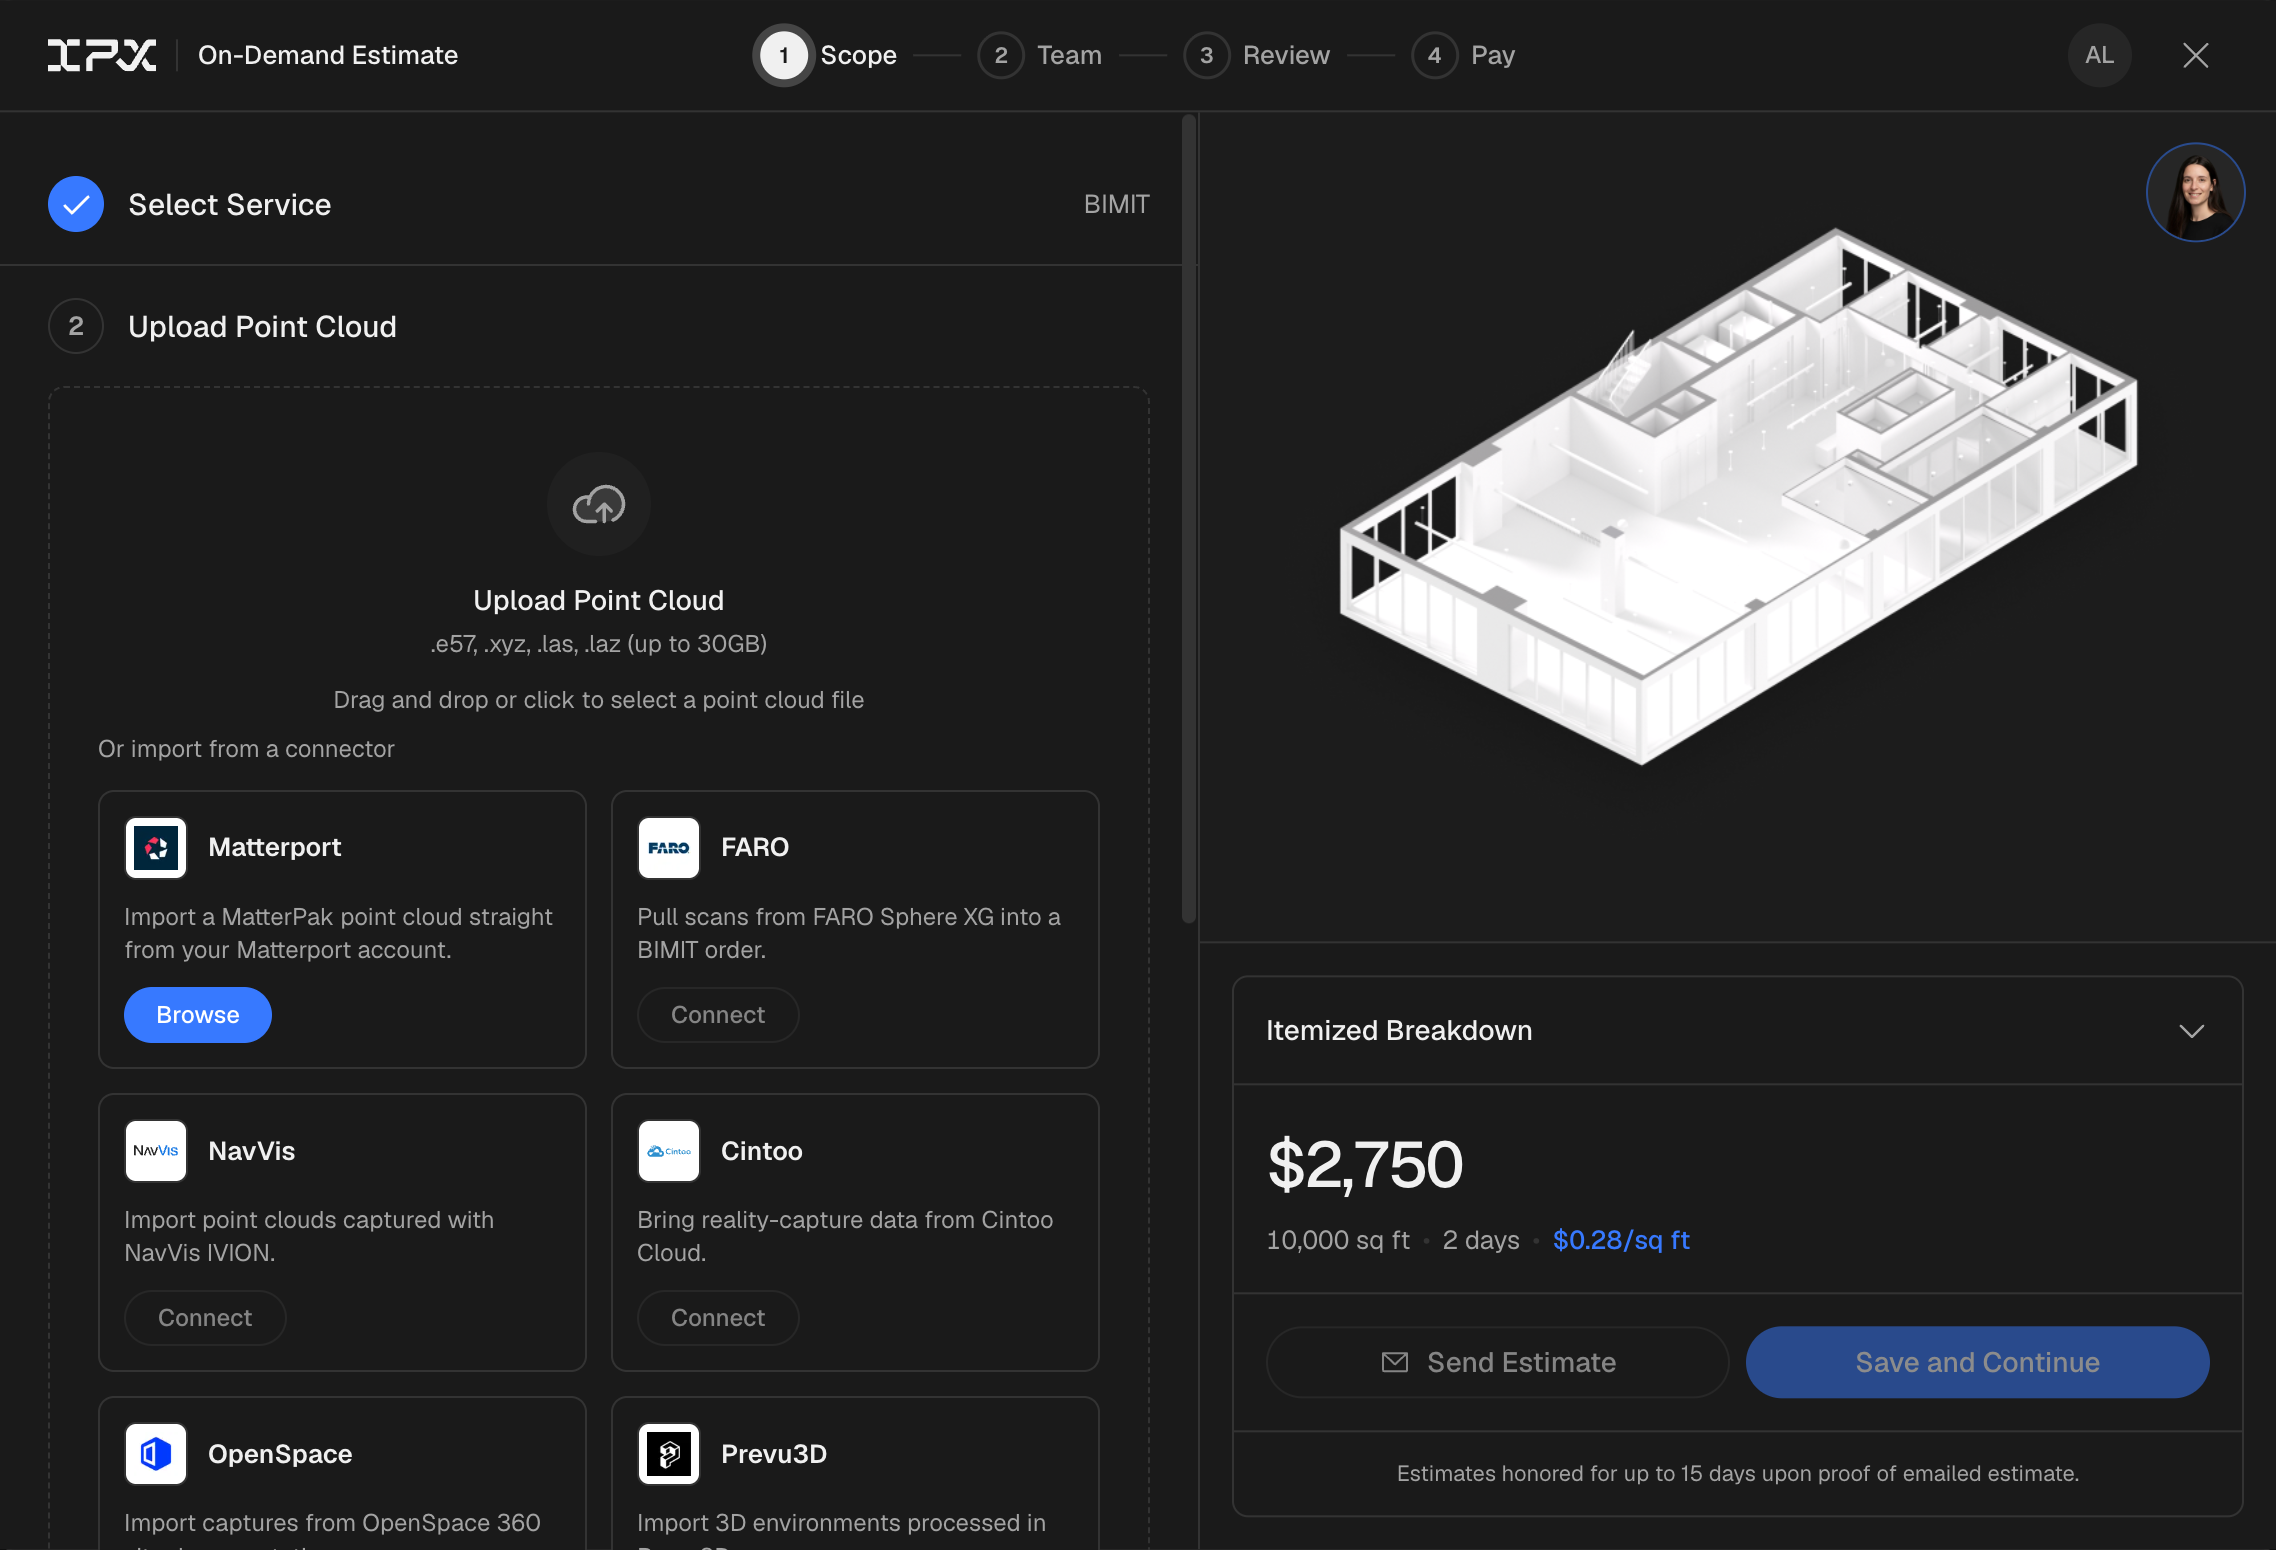
Upload your point cloud
Upload your registered scan data. BIMIT accepts .e57, .xyz, .las, and .laz files up to 30GB — drag and drop, or click to browse. You can also import a MatterPak straight from your Matterport account; imports from FARO Sphere XG, NavVis, Cintoo, OpenSpace, and Prevu3D are coming soon. A point cloud is required for a BIMIT order — it's the scan data we model from.
4
Set scope and deliverables
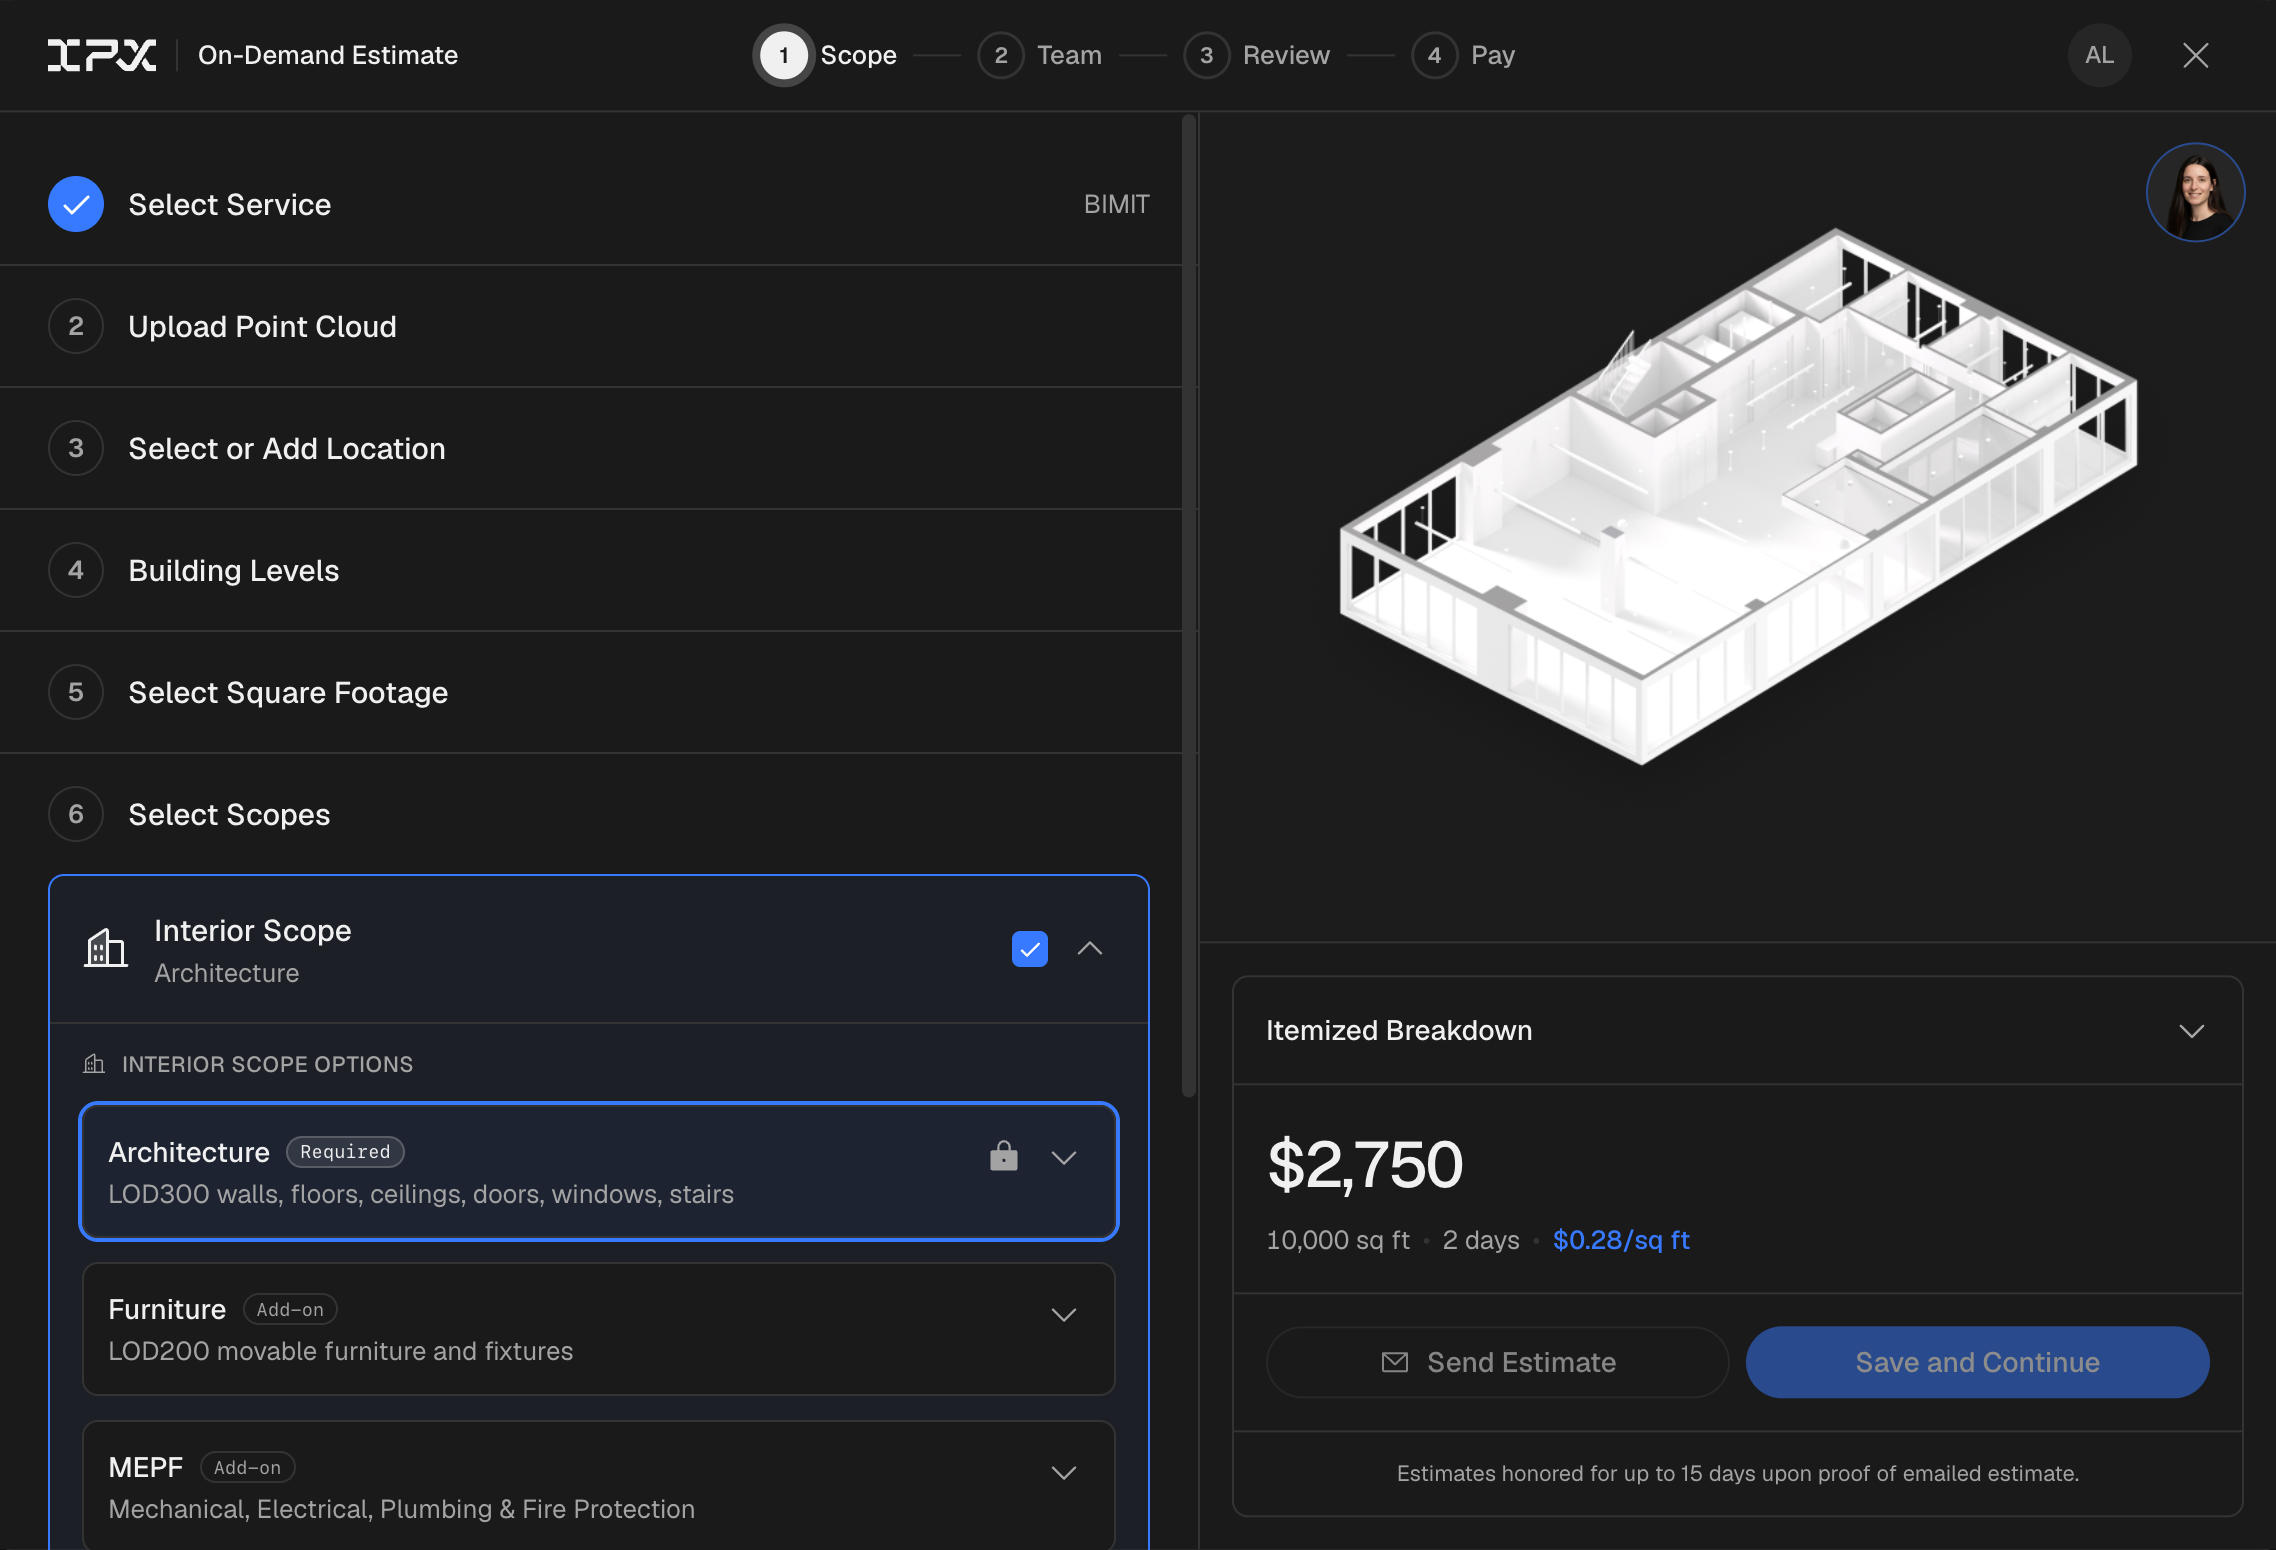
Pick your location, building levels, and square footage, then choose your scopes and deliverables. Architecture is required and included by default (LOD 300 — walls, floors, ceilings, doors, windows, stairs); add Furniture (LOD 200) or MEPF as needed, plus exterior and site scope. Under deliverables, pick your Revit version, point cloud, and floor plans. Everything except the on-site scan matches a SCANIT order — see How to Order a SCANIT Scan for the full breakdown. Your itemized estimate updates live as you choose.
5
Review, sign, and pay
Optionally invite teammates on Step 2 — Team, then on Step 3 — Review check the summary and sign the Service Authorization Form. On Step 4 — Pay, pay the 50% deposit. You'll see an Order Confirmed screen when it's done.
How BIMIT differs from a SCANIT scan
- No field scan. You provide the scan data, so there's no on-site visit to schedule.
- Point cloud upload is required. The order can't proceed without it.
- No Site Survey Control add-on. That on-site service doesn't apply to BIMIT.
- Everything else is the same — scope, deliverables, the Revit version selector, the instant estimate, the 50% deposit, and the authorization form all work exactly as they do for SCANIT.
Not sure which scan data works?
BIMIT models from a registered point cloud of your building. If you only have raw, unregistered data or aren't sure it's suitable, order a SCANIT scan instead — our technicians capture and register everything for you.
After you submit
Our team reviews the order within 24 hours and emails a confirmation with your invoice. Track progress anytime from the Activity tab; the remaining 50% balance is invoiced when your deliverables are complete.